Mark the hinge location on the door to cut the door hinges with the Dremel. Secure it in place and use a Dremel with a metal cutting wheel to make a precise cut. Adjust the depth of the tool to match the thickness of the hinge. Test the fit and clean for a shiny finish.
With the Dremel in hand, open the door for accuracy. Wondering how to cut door hinges with a Dremel? Master the art with ease and elevate your DIY game with clean, precise cuts that ensure a smooth fit for your hinges.
To cut door hinges with a Dremel, mark the hinge location on the door. Secure the door, use a metal cutting wheel attachment, and carefully follow the marked line while the Dremel operates. Test the fit and make adjustments as needed.
Here is How to Cut Door Hinges with a Dremel
Cutting door hinges with a Dremel can be a precise and efficient method. Here’s a general guide on how to do it:
Materials and Tools:
- Dremel rotary tool
- Cutting wheel attachment
- Safety glasses
- Pencil or marker
- Ruler or straight edge
- Clamp or vise to secure the door securely
Go through all Nine steps and you will be ready to cut the door hinges with the help of a Dremel and save your money:
Step 1: The Measurement and Marking:
Accuracy is key when it comes to measuring and marking. Start by measuring the specific dimensions you need for your project, whether it’s cutting material for a DIY project or marking locations for fixtures like door hinges.
Take your time to ensure accurate measurements and use a straight edge or ruler to make clear and straight marks. Double-checking your measurements before making any cuts or installations will help you achieve more successful and professional results in your woodworking or construction endeavors.
Step 2: Use a Utility Line:
When using a utility line to guide the process cutting out door hinges with a Dremel becomes a straightforward task. Begin by measuring and marking the hinge locations on the door ensuring alignment with the utility line. Secure the door in place and, using a Dremel with a cutting wheel attachment, follow the utility line precisely for clean and accurate cuts.
This method not only streamlines the process but also enhances the overall precision, resulting in well fitted door hinges. Always prioritize safety by wearing protective gear and following manufacturer guidelines for both the utility line and Dremel usage.
Step 3: Repeat Tracing:
Consider using the retracing method for the exact location of the door hinge. Begin by tracing the outline of the hinge on the surface of the door, ensuring precise alignment. Carefully follow the traced lines using a Dremel with a cutting wheel attachment Repeat the process for each hinge.
This systematic approach helps maintain consistency. It ensures that every hinge is the same, which contributes to a polished and professional finish. Always take precautions and follow safety protocols. Make the necessary adjustments to get the best results.
Step 4: Changing the Bit:
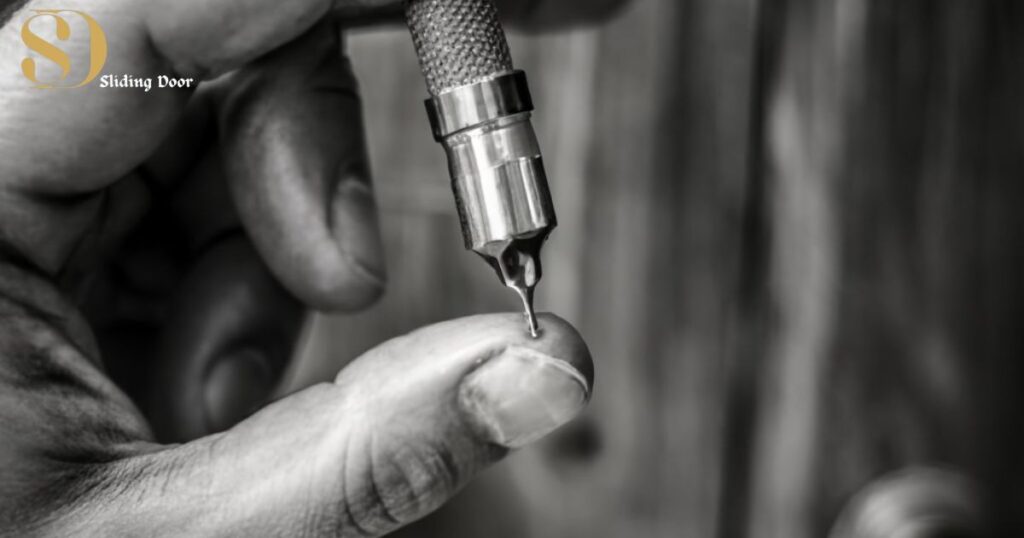
Changing the bit on a Dremel is a straightforward process that adds versatility to your projects. Start by turning off and unplugging the tool for safety. Loosen the collet nut using a collet wrench Remove the existing bit, insert the required bit and tighten the collet nut securely.
This quick and simple switching routine ensures smooth transitions between different tasks, allowing you to efficiently tackle different projects with your Dremel tool. Always prioritize safety by following the manufacturer’s instructions throughout the process.
Consider the specific needs of your project when choosing a new bit. Whether you need a cutting, grinding or polishing bit, choosing the right one increases accuracy and efficiency. Maintain your Dremel well. Regularly inspect and replace bits as needed to improve performance.
Step 5: Adjusting the Dremel:
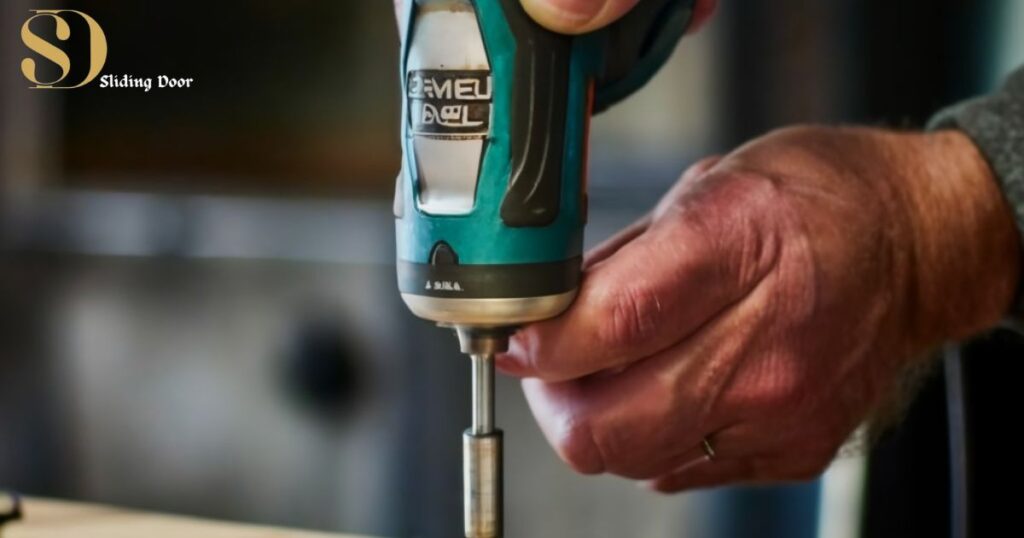
Adjusting the Dremel tool to achieve the best performance for different tasks is important. Make sure the tool is turned off and unplugged for safety before making any adjustments. Depending on your specific needs you can adjust the speed settings using the speed control dial.
Some Dremel models may have depth adjustment features for tasks such as cutting or engraving. Consult the user manual for your specific Dremel model to understand the adjustment options available and follow the manufacturer’s instructions to make the correct adjustments for your specific project needs.
Always prioritize safety when adjusting your Dremel tool by always using proper safety equipment and following recommended procedures.
Step 6: Ensuring the Safety:
Safety is paramount when using a Dremel tool. Before starting any work, wear appropriate personal protective equipment such as safety glasses to protect your eyes from debris.
Make sure the tool is off and unplugged when making adjustments or changing bits. Consider using a dust mask to protect against inhaling particles when cutting or grinding.
Always follow the manufacturer’s safety guidelines. Be aware of your surroundings to avoid accidents. Prioritizing safety measures guarantees a safe working environment and enhances the overall experience when using a Dremel tool.
Step 7: Secure the Door:
It is a critical step when working with a Dremel. Use clamps or a vise to firmly hold the door in place, preventing any unwanted movement during the cutting process. This stability ensures accuracy and safety as you operate the Dremel to cut hinges or perform other tasks.
Confirm that the door is tightly secured before proceeding with any cutting or shaping, and make any necessary adjustments to guarantee a controlled and effective working environment.
Step 8: Position the Dremel:
Positioning the Dremel correctly is critical to achieving accurate results in your work. Start by saving the content you’re working on. Use clamps or vises to prevent it from moving. Hold the Dremel firmly with both hands on the tool for stability and control.
Make sure the cutting or grinding bit is perpendicular to the work surface if you want a straight cut or surface. Experiment with angles and pressures to find the most efficient and comfortable position for your task.
Proper positioning contributes to accurate and efficient work, so take the time to find the right stance for the job.
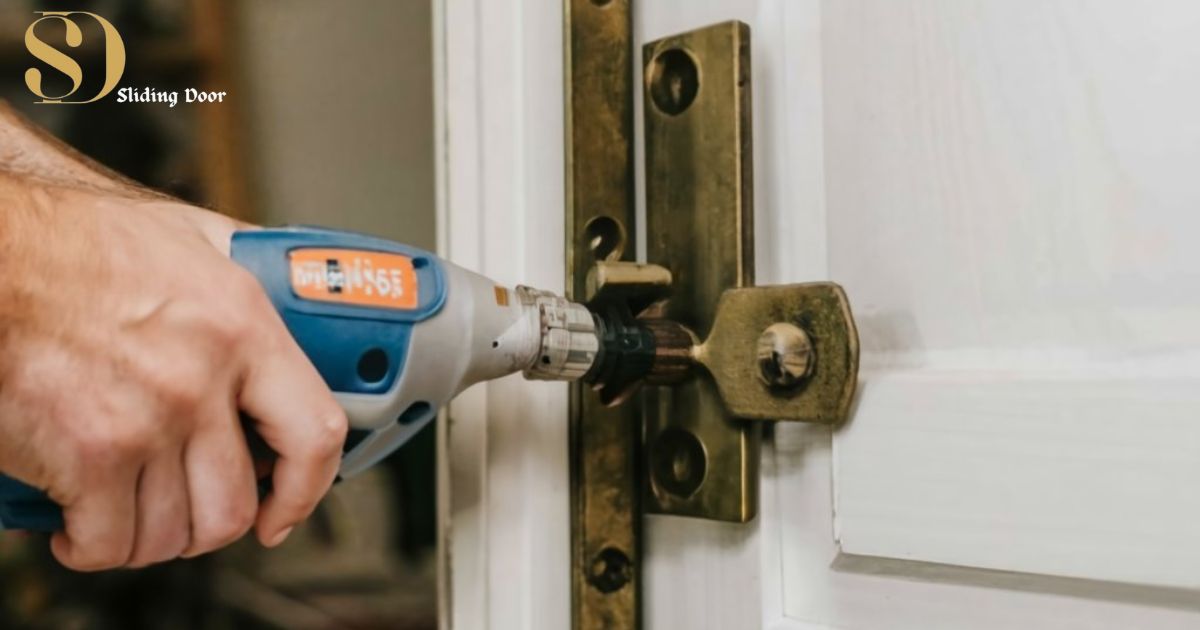
Step 9: Cutting the Hinges:
When cutting hinges with a Dremel start by marking the hinge locations on the door with precision using a ruler or template. Secure the door in place using clamps or a vise to prevent any movement.
Install a suitable cutting wheel attachment on the Dremel ensuring it’s appropriate for cutting metal if your hinges are metal. Turn on the Dremel and carefully follow the marked lines applying steady and even pressure. Take your time to ensure accuracy and periodically check the depth to avoid cutting too deep.
Once the cuts are made test fit the hinges making any necessary adjustments for a precise and secure fit. Always prioritize safety by wearing protective gear and following manufacturer guidelines for both the Dremel and the hinges.
FAQ’S
Can you use a Dremel to cut door hinges?
Yes, a Dremel can be used to cut door hinges.
How to use a Dremel for door hinges?
Mark the hinge location on the door and secure it, then use a Dremel with a metal cutting wheel to carefully cut along the lines for the door hinge installation. Make safety a priority by wearing protective clothing.
How to cut door hinges by hand?
Mark the hinge locations on the door for hand cutting Use a chisel and hammer to outline the shape of the hinge. Then carefully chisel the marked area making sure the depth matches the thickness of the hinge. Take your time and check the fit periodically for accuracy.
How to cut door hinges with a router?
Cut the door hinges with a router by marking the hinge locations securing the door selecting a matching bit adjusting the depth using a guide and checking the fit.
Final Thought
Cutting door hinges with a Dremel is a straightforward process that requires careful measurement, secure clamping and the right cutting wheel. The precision of the Dremel allows for a clean cut and regular checking ensures the perfect fit for the hinge. With a focus on safety and these simple steps, anyone can cut door hinges confidently and efficiently, making it an easy skill for DIY projects and home improvement.
Mastering the use of a Dremel for this task adds a valuable tool to one’s DIY arsenal. Its versatility combined with the right technique empowers individuals to tackle door installation and customization projects with ease. This gives a professional finish that enhances the overall aesthetics of their living spaces.

For 8 years, I’ve been working with sliding doors. I know all the ins and outs, from how they’re designed to how they work. I’m here to share my expertise.